Unity: Setting Up PBR Textures for URP and HDRP
In Unity, the render pipeline decides the channel layout: URP Lit reads metallic from red and occlusion from green, while HDRP Lit expects a single Mask Map with metallic in red, ambient occlusion in green, and smoothness in alpha.
- Version
- Unity 6.3 LTS (6000.x editor line)
- Render pipelines
- Universal RP (URP) and High Definition RP (HDRP)
- glTF import
- via the glTFast package (com.unity.cloud.gltfast)
- Time needed
- about 25 minutes
Why the render pipeline decides your channel layout
A PBR material in Unity is only ever as flexible as the shader behind it, and each render pipeline ships its own default shader. The Built-in Render Pipeline, the Universal Render Pipeline (URP), and the High Definition Render Pipeline (HDRP) exist side by side, but a material built for one doesn't carry over to the others. Drop a URP material into an HDRP project and it simply won't read the same way.
Unity points new projects toward URP or HDRP; the Built-in pipeline is treated as legacy, and its own packing conventions aren't documented with the same clarity anymore. This guide sticks to URP and HDRP, the two pipelines where our texture sets (Cracked Concrete 01, Oak Planks 01, Rusty Corrugated Metal 01, Cobblestone 01, Corrugated Metal 01) come out right once you know which value goes where.
Short answer: Unity reads packed textures by fixed channel, not by filename. Put metallic in the wrong channel and a concrete wall can end up looking like polished chrome. The rest of this guide walks through wiring up our six maps (_diff, _nor_gl, _rough, _ao, _disp, _arm) for both URP and HDRP.
Step 1: Check the texture import settings
Before a texture ends up in a material, the import inspector decides how Unity interprets its pixels. For our six files:
| File | Texture Type | sRGB (Color Texture) |
|---|---|---|
_diff (diffuse) |
Default | On |
_nor_gl (normal map) |
Normal Map | Handled automatically |
_rough, _ao, _disp |
Default | Off |
_arm (packed) |
Default | Off |
Diffuse textures carry color information and need sRGB so Unity applies gamma correction correctly. Roughness, AO, displacement, and the packed ARM file are measured data, not color. They're linear. Leave sRGB on for those and Unity shifts the values, so the material no longer matches the measured original.
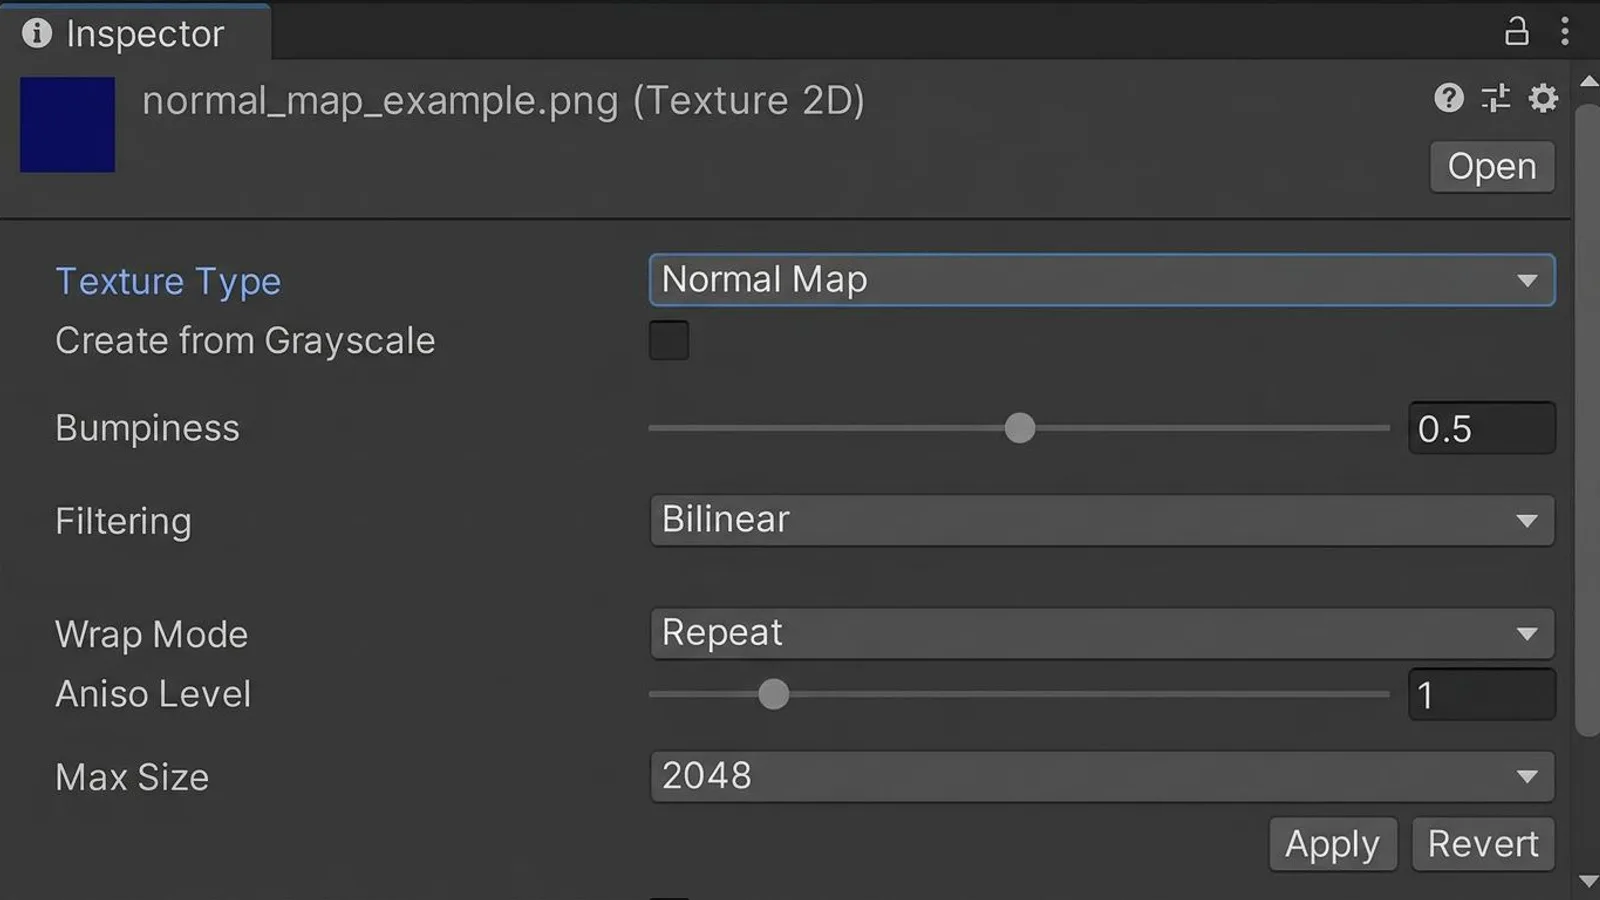
For _nor_gl, pick Normal Map from the Texture Type dropdown. Unity then treats the file as directional data and manages color space and compression accordingly. No manual flipping needed: our files already ship in the form Unity's Normal Map type expects.
 AI-generated
Step 2: Set up the URP Lit shader
URP's default shader is called Lit. Per Unity's own documentation, it exposes Base Map, Metallic Map, Smoothness and Normal Map as separate inputs, but it can also read metallic, smoothness and occlusion from one channel-packed texture. That layout is fixed:
| Channel | URP property |
|---|---|
| Red | Metallic |
| Green | Occlusion |
| Blue | Not used |
| Alpha | Smoothness |
The trick: you assign the same texture to both the Metallic Map and Occlusion Map slots. Unity then pulls the correct channel from each slot automatically: one file, two slots.
Our _arm format stores AO in red, roughness in green, and metallic in blue, a different order entirely. Drag it straight into URP's metallic slots and you'll get nonsense: AO reads as metallic, roughness reads as occlusion. Step 4 shows how to fix that in a few lines of code.
Base Map takes _diff, Normal Map takes _nor_gl. Both assignments are independent of channel packing and work without any detour.
Step 3: HDRP Lit and the Mask Map
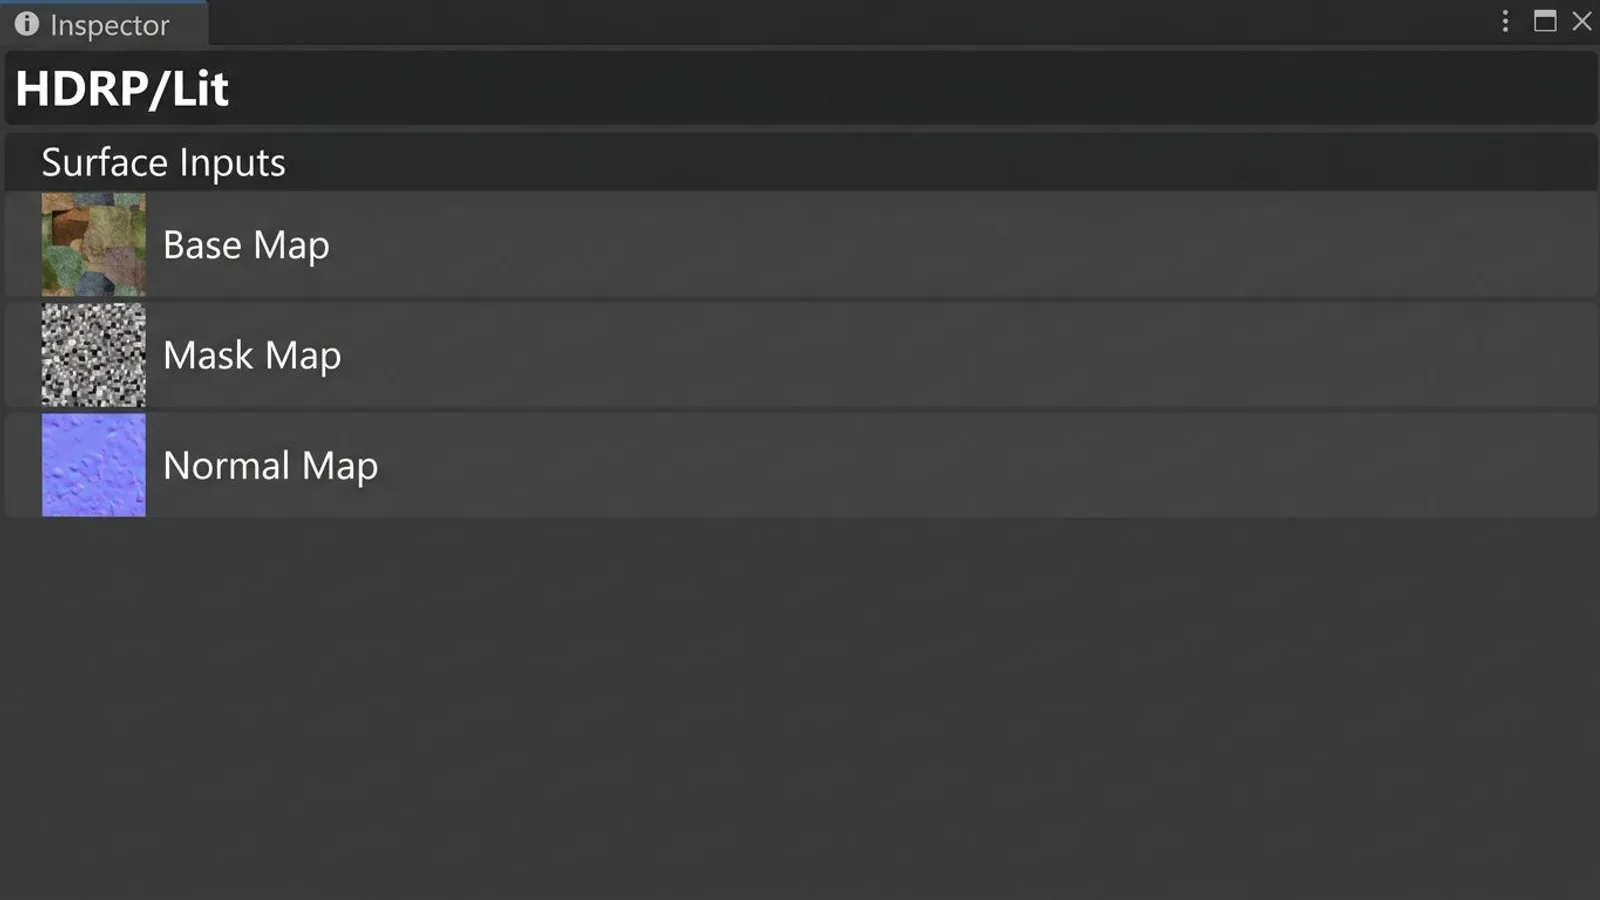
HDRP also has a Lit shader, but it packs metallic, AO, a detail-mask value, and smoothness into a single Mask Map — there's no separate metallic slot at all. According to the official HDRP documentation, the layout is:
| Channel | HDRP Mask Map |
|---|---|
| Red | Metallic |
| Green | Ambient Occlusion |
| Blue | Detail mask |
| Alpha | Smoothness |
Same rule as before: disable sRGB (Color Texture) when importing the Mask Map, or HDRP shifts the linear values. Without a detail map of your own, the blue channel's exact value barely matters for the result — the script below still sets it cleanly to 0 instead of leaving it undefined.
 AI-generated
Notice how close URP's packing and HDRP's Mask Map already are? Red and alpha match; only green and blue swap roles slightly. That's what makes step 4 short.
Step 4: Compute smoothness and repack the channels
Two things are still missing to turn our files into something Unity can use directly: roughness needs converting to smoothness (smoothness = 1 − roughness), and the channels need reordering into whatever URP or HDRP expects. A short Pillow script handles both in one pass:
from PIL import Image

# FS Modworks ARM: R = AO, G = Roughness, B = Metallic
arm = Image.open("FSMW_cracked_concrete_01_arm_4k.jpg").convert("RGB")
rough = Image.open("FSMW_cracked_concrete_01_rough_4k.jpg").convert("L")

ao, _, metallic = arm.split()
smoothness = rough.point(lambda p: 255 - p)      # smoothness = 1 - roughness
detail_mask = Image.new("L", ao.size, 0)         # no detail map -> 0

# R metallic, G AO/occlusion, B detail mask, A smoothness
# works for the HDRP Mask Map AND URP's channel packing
# (blue is simply unused in URP)
packed = Image.merge("RGBA", (metallic, ao, detail_mask, smoothness))
packed.save("cracked_concrete_01_packed_4k.png")
Drop the resulting PNG into URP's Metallic Map and Occlusion Map fields (both at once), or into HDRP's Mask Map. Either way: disable sRGB on import, keep Texture Type at Default.
Step 5: Match tiling to the tile size
Our textures are tileable, but each one has a fixed real-world tile size baked into how it was authored:
| Texture | Tile size |
|---|---|
| Cracked Concrete 01 | 1.0 × 1.0 m |
| Oak Planks 01 | 1.2 m |
| Rusty Corrugated Metal 01 | 0.988 m |
| Cobblestone 01 | 1.5 m |
| Corrugated Metal 01 | 0.684 m |
In the material inspector, look for the Tiling (X/Y) and Offset fields under each texture assignment. Tiling multiplies the mesh's UV coordinates — it's a ratio, not an absolute meter value. As a rule of thumb: tiling = surface edge length in meters ÷ the texture's tile size, assuming the mesh's UVs are laid out 1:1 to its real-world size. A 4-meter-wide wall using Cracked Concrete 01 would get Tiling X = 4 under those conditions.
Step 6: Importing FBX and glTF
Our 3D model packages ship in several formats. Unity reads FBX files natively. Drop the file into the Assets folder and Unity builds a prefab with materials attached, no extra software required. Details on all our formats live in the 3D file formats guide.
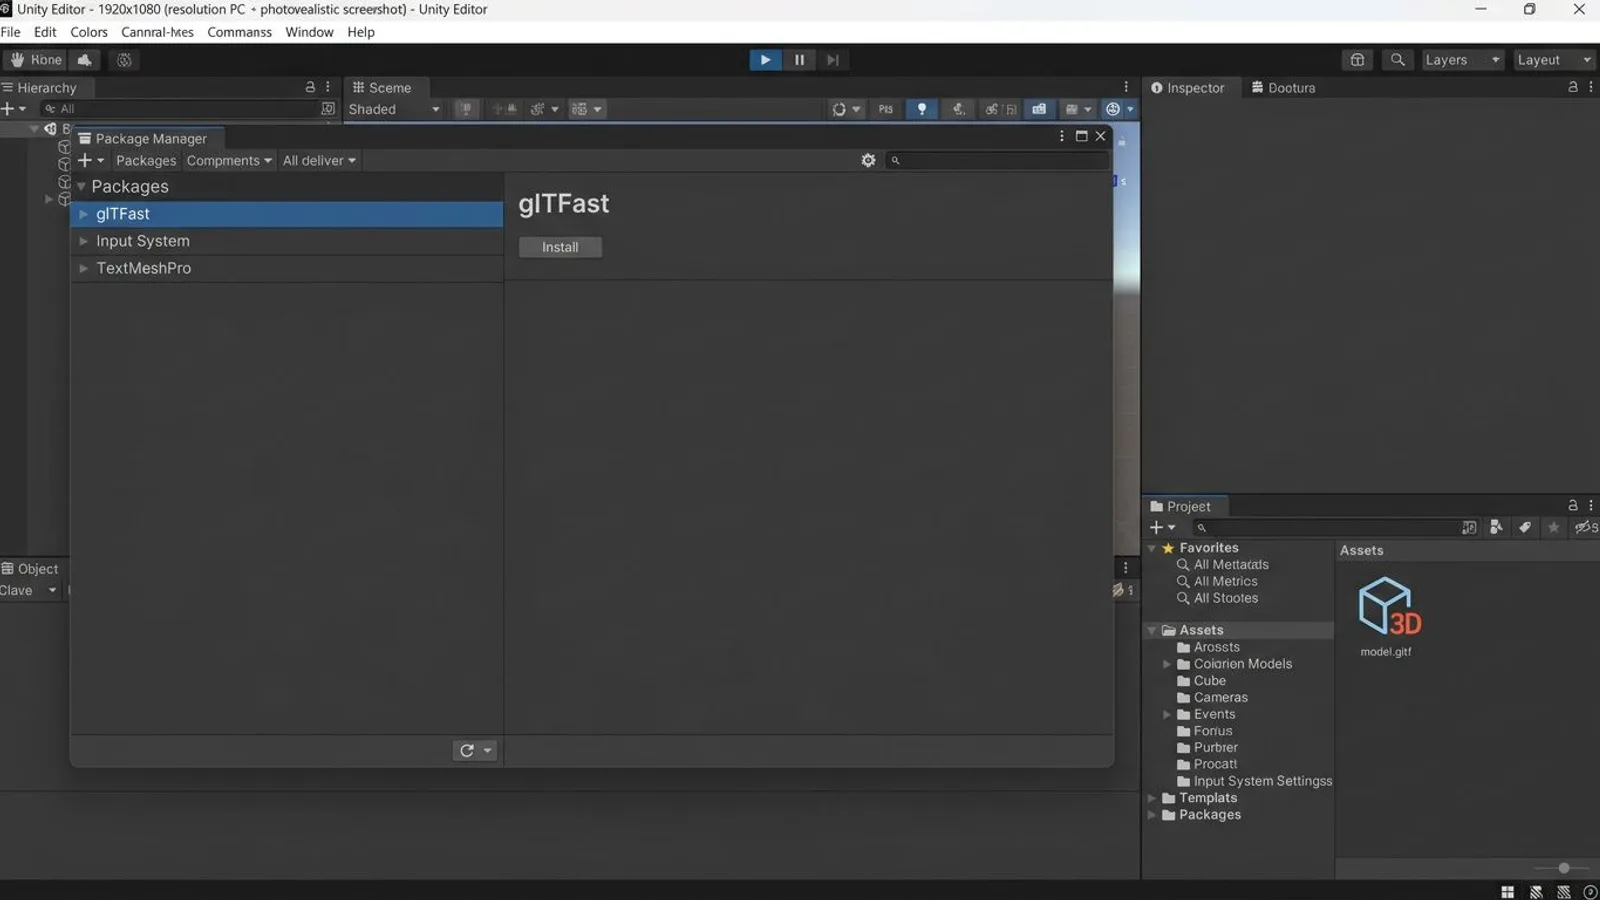
.gltf and .glb work differently: Unity ships no built-in importer for either. According to Unity's own documentation, the glTFast package (com.unity.cloud.gltfast) covers that job. Install it through Window → Package Manager, search for the package, and add it. After that, .gltf and .glb files import into native Unity prefabs just like any other scene format. Remember to copy the accompanying .bin file and the textures folder along with it, or references break.
 AI-generated
If you also want to use the same texture inside LS25 (Farming Simulator 25), Unity isn't the right tool for that step — the GIANTS Texture Tool handles the DDS conversion there, with its own channel layout for the specular map.
Working across engines on the same project is common enough that it's worth cross-referencing: the Unreal Engine guide shows how our ARM file turns directly into an ORM texture there, and the ORM/ARM guide breaks down the difference between packing standards in more detail. For how normal maps work in general and how to spot one with the wrong orientation, see the normal map guide.
Common problems
| Problem | Cause | Fix |
|---|---|---|
| Normal map looks caved in instead of raised | Texture Type is set to Default instead of Normal Map | Set Texture Type to Normal Map in the import inspector and reimport |
| Material looks fully metallic/mirror-like | ARM file dropped straight into URP's Metallic Map, channels are in the wrong order | Repack the texture with the step 4 script, then assign it to both Metallic Map and Occlusion Map |
| HDRP material looks flat and dark | Mask Map imported with sRGB still enabled | Disable sRGB (Color Texture) in the import inspector |
.gltf file won't import |
glTFast package isn't installed | Open the Package Manager and install glTFast |
| Tile size doesn't match the wall | Tiling in the material isn't matched to the tile size and object size | Set Tiling X/Y using edge length ÷ tile size |
Frequently asked questions
Can I drop the FS Modworks ARM texture straight into Unity?
Not without repacking. Our ARM file stores AO in red, roughness in green, and metallic in blue. URP wants metallic in red and occlusion in green; HDRP wants metallic in red, AO in green, and smoothness in alpha. The Python script in this guide builds a matching texture in a few lines.
Which render pipeline should I use for a new project?
Unity itself recommends URP or HDRP for new projects. URP runs on almost anything, from mobile to PC. HDRP targets PC and console projects that need higher-end lighting and material fidelity.
Do I need to edit our normal map before importing it?
No. Set Texture Type to Normal Map in the import inspector and Unity handles the rest. Our files already use the OpenGL convention that setting expects.
How do I open our glTF model packages in Unity?
FBX imports natively, no extra package needed. For .gltf or .glb, install the glTFast package through the Package Manager first, then import the file like any other scene.