Godot: Setting Up PBR Textures with ORMMaterial3D
Godot reads an ORM texture with ambient occlusion in red, roughness in green, and metallic in blue — exactly the channel order our ARM file already uses — and expects normal maps in the OpenGL convention (X+, Y+, Z+), so our _nor_gl files work unmodified.
- Version
- Godot 4.7 (currently 4.7.2, as of 18 Aug 2026)
- Material for our textures
- ORMMaterial3D instead of StandardMaterial3D
- Normal map
- OpenGL convention (X+, Y+, Z+) per the Godot documentation
- Time needed
- about 20 minutes
Two materials, one difference
Godot offers two closely related material types for PBR surfaces: StandardMaterial3D and ORMMaterial3D. According to the official Godot documentation, the two are nearly identical except for one thing: instead of separate settings and textures for occlusion, roughness, and metallic, ORMMaterial3D reads a single packed ORM texture, with each value living in its own color channel.
That lines up neatly with our texture format. Our _arm file stores ambient occlusion in red, roughness in green, and metallic in blue, per the BaseMaterial3D class reference exactly the channel order Godot's ORM texture expects (the reference states plainly: "Ambient occlusion is stored in the red channel. Roughness map is stored in the green channel. Metallic map is stored in the blue channel."). Load our ARM file into ORMMaterial3D and there's nothing left to reorder.
Because both values come from the single ORM texture in ORMMaterial3D. That's the entire point of the material type. The rest of this guide covers wiring our textures into both material types, which normal map convention Godot expects, and how to set tile size and parallax depth.
Every one of our texture sets (Cracked Concrete 01, Oak Planks 01, Rusty Corrugated Metal 01, Cobblestone 01, Corrugated Metal 01) ships the same six maps at 2K, 4K, and 8K. For Godot, three of them are the direct route: _diff for albedo, _arm for the ORM slot, and _nor_gl for the normal map. _rough, _ao, and _disp also come as standalone files, in case you're working with StandardMaterial3D or want to fine-tune one value on its own.
Godot's own documentation points out that programs like Substance Painter and Armor Paint already export ORM textures through their Unreal Engine export preset, a sign that ORM isn't a Godot-specific format at all but an industry-standard layout our _arm file happens to match natively.
Step 1: Texture import settings
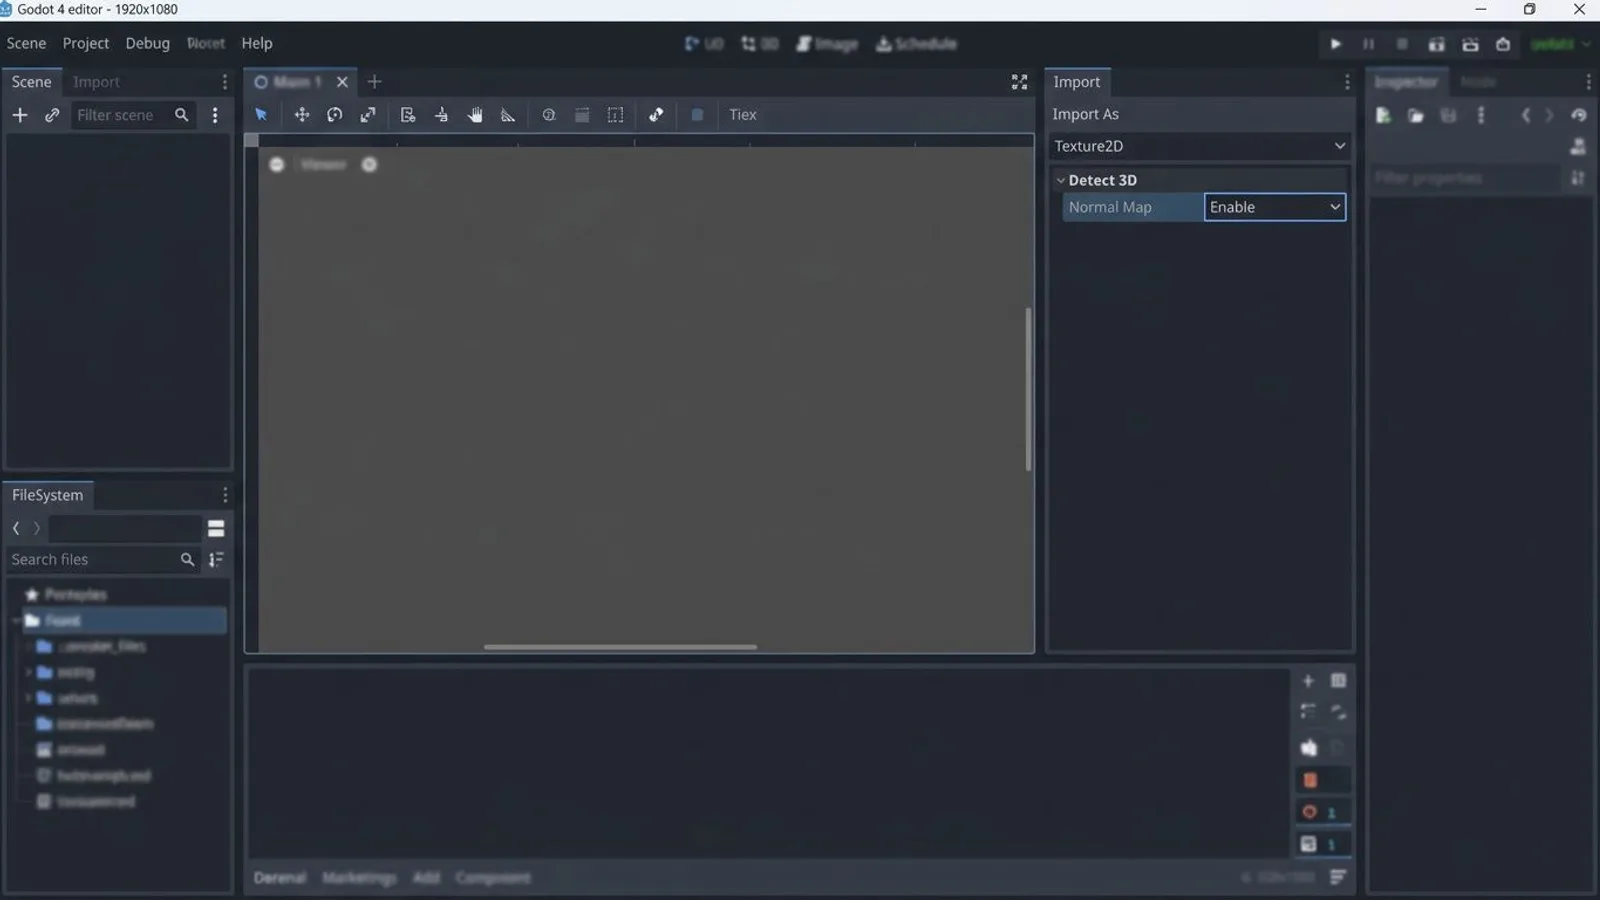
Before a file becomes usable as a texture in Godot, the Import dock decides its compression and color space. Godot imports images by default with lossless compression and no mipmaps, settings meant for 2D. Detect 3D, per the documentation, automatically notices when a texture is used in a 3D material and adjusts mipmaps and the compression mode accordingly.
For our normal map (_nor_gl), it's worth checking in the Import dock that normal map detection actually took effect, otherwise Godot treats the file as an ordinary color image and compresses it lossily, which shows up as visible artifacts on directional data. If needed, set the "Normal Map" import option from "Detect" to "Enabled" manually.
 AI-generated
Step 2: Setting up ORMMaterial3D
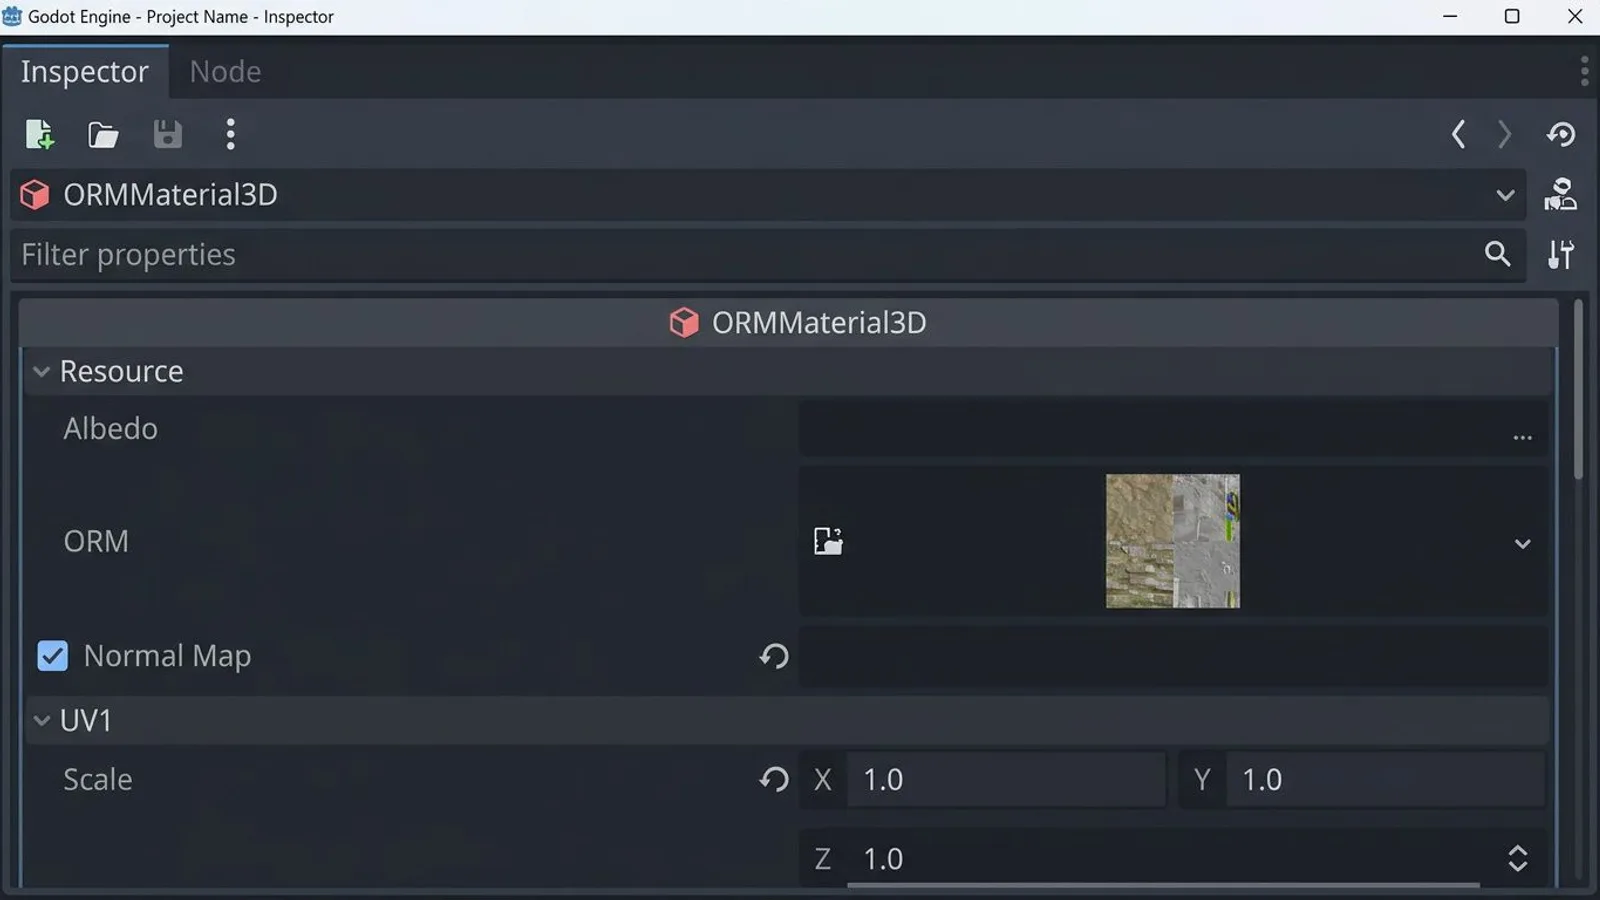
An ORMMaterial3D resource in the Inspector shows the same base settings as StandardMaterial3D (Albedo, Normal Map, Emission), except the occlusion/roughness/metallic section is combined into one:
| Slot | File |
|---|---|
| Albedo | _diff |
| ORM | _arm |
| Normal Map | _nor_gl |
Drag _arm into the ORM slot, _diff into Albedo, _nor_gl into Normal Map, and enable normal mapping via the checkbox next to it. The three most important channels are done. Height and parallax settings come in step 4.
 AI-generated
If you'd rather work with individual files, say to fine-tune roughness separately, use StandardMaterial3D and fill its own metallic, roughness, and ambient occlusion slots with _rough and _ao. Both paths land on the same visual result; ORMMaterial3D just needs one fewer texture sample to get there.
Godot's documentation lists four ways to assign a material to an object: through the mesh's own material property, through the property of the node using that mesh (a MeshInstance3D, for example), through that node's material override property, or as a material overlay layered on top of an existing material. For our textures, the difference is mostly organizational: a material set on the mesh itself applies everywhere that mesh is used, while a material override applies only to a single node instance, useful when the same wall geometry needs Cracked Concrete 01 in one place and Cobblestone 01 in another.
Step 3: Using our normal map unmodified
Godot enforces its own convention for normal maps. Per the documentation: "Godot requires the normal map to use the X+, Y+ and Z+ coordinates, which is known as an OpenGL-style normal map." Anyone importing a normal map authored in DirectX convention has to enable the Normal Map Invert Y import option first, according to the same documentation.
For our textures, that step simply doesn't apply: _nor_gl stands for exactly this OpenGL convention, and the files drop unmodified into the Normal Map slot on both StandardMaterial3D and ORMMaterial3D. Godot's documentation also notes that it only uses the red and green channels of a normal map for the calculation anyway, which reduces compression cost and memory use.
Step 4: Height map and parallax
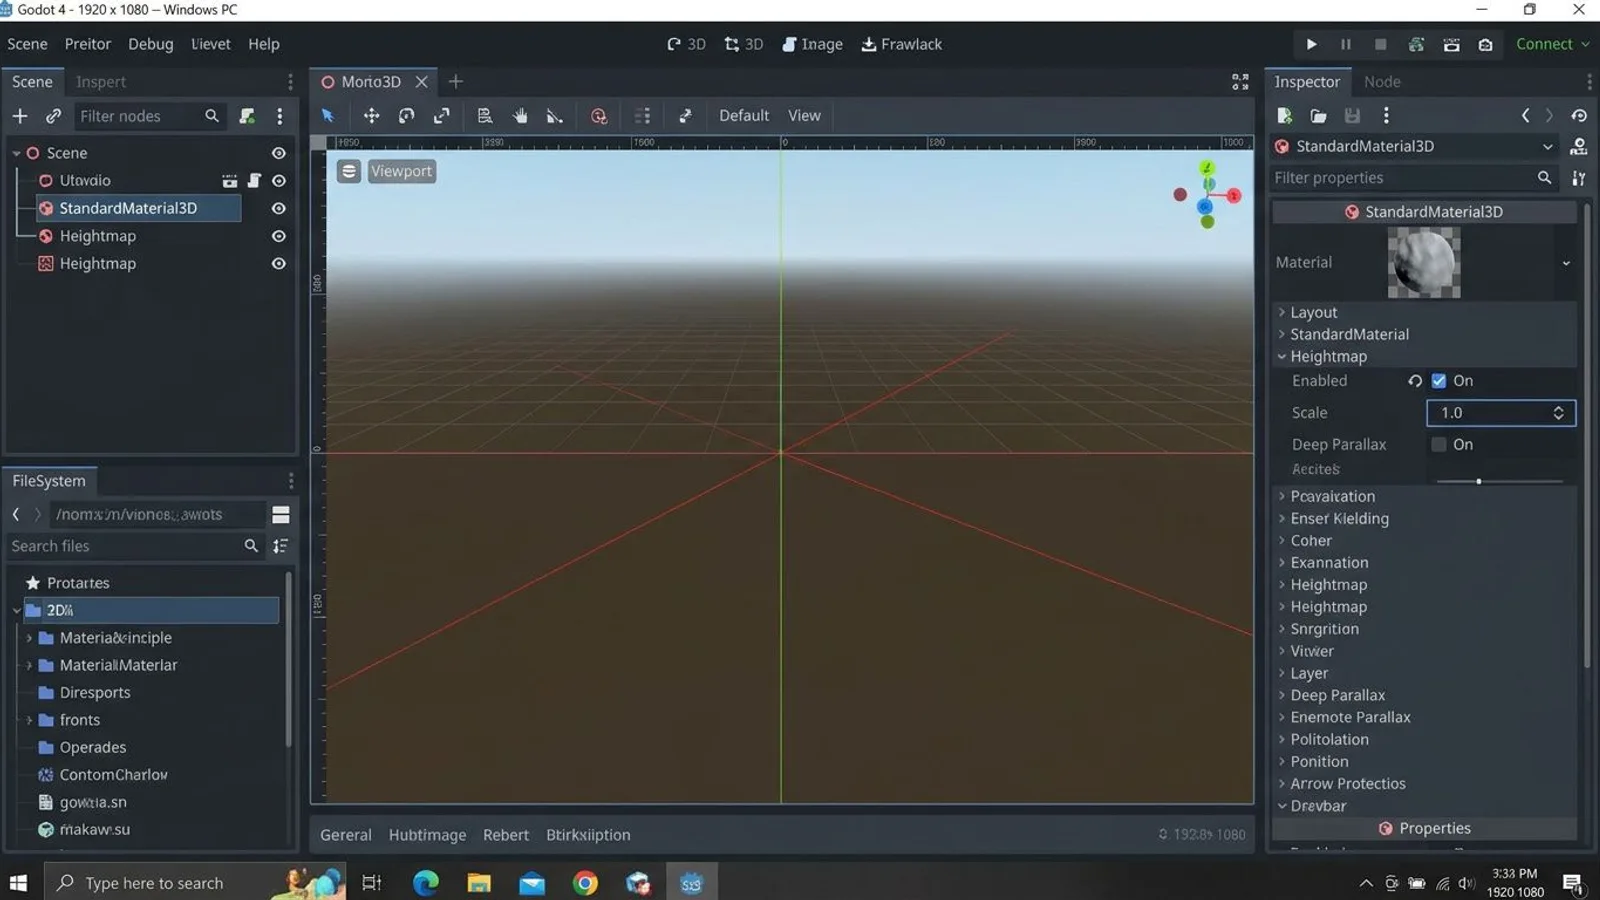
Our _disp file works as a height map for BaseMaterial3D's parallax effect. Godot's class reference also calls this "depth mapping": per the documentation, it fakes extra depth without adding real geometry, using a ray-marched search along the view direction.
The relevant properties:
| Property | Function |
|---|---|
| Heightmap Enabled | turns the effect on; demanding on the GPU |
| Heightmap Texture | takes our _disp file |
| Heightmap Scale | controls the strength of the effect; default is 5.0, calibrated per the documentation so the brightest point of the map appears about 5 cm higher than the darkest |
| Heightmap Deep Parallax | switches to parallax occlusion mapping instead of simple offset mapping, more convincing but more expensive |
| Heightmap Flip Tangent / Heightmap Flip Binormal | per the documentation, correct the direction of the effect if it looks mirrored or inverted |
 AI-generated
If the effect isn't visible at all, it's almost always Heightmap Scale sitting near 0, or Heightmap Enabled not being set yet.
Worth setting expectations here: parallax mapping never changes a mesh's actual silhouette. Viewed from the side, a wall using Cracked Concrete 01 stays flat. The depth effect only works from the camera's perspective and inevitably cuts off at the mesh's edges. For a visible edge, like a window reveal or a wall cap, real geometry stays the more reliable choice. Parallax suits large, flat surfaces such as walls or floors, where the camera never sweeps past the edge at a steep angle.
Step 5: Tile size through UV1 Scale
Godot doesn't scale textures through a tiling field on the texture slot itself — it uses the material property UV1 Scale (a Vector3, though for 2D tiling only the first two values matter). It multiplies the mesh's UV1 coordinates, independent of the mesh's actual size. For a surface whose UVs are laid out 1:1 to its real-world size, the same rule of thumb applies as in other engines: UV1 Scale = edge length in meters ÷ the texture's tile size. Cracked Concrete 01, with its 1 × 1 m tile size, would get UV1 Scale X = 3 on a 3-meter-wide surface.
Godot also offers triplanar mapping, which projects a texture from three axes and blends by normal, useful for irregularly shaped meshes without clean UVs, at a higher rendering cost.
Step 6: Importing GLB and glTF
Our 3D model packages ship as .gltf and .glb, among other formats. Godot supports glTF 2.0 natively as its recommended 3D format, per the documentation, in either variant: a text file with a separate .bin and textures in a textures folder, or a single binary file. No plugin is needed: copy the files into your project directory and Godot imports them automatically the next time the editor window gets focus. Details on our other formats (FBX, .blend) are in the 3D file formats guide.
For LS25 (Farming Simulator 25), Godot isn't part of the pipeline at all. Import there runs through the GIANTS Editor, with its own i3d format and its own DDS conversion.
It's worth looking across engines here too: Unreal Engine calls the same texture standard ORM and handles it almost identically; the ORM/ARM guide compares both directly. For how displacement and height maps differ between engines, see the displacement map guide.
Common problems
| Problem | Cause | Fix |
|---|---|---|
| Normal map looks wrong, recessed areas look raised | A foreign DirectX normal map was imported instead of our OpenGL file | Use our _nor_gl file, or enable the Normal Map Invert Y import option on foreign maps |
| Material looks fully metallic despite a stone texture | ARM file dropped into the Albedo slot instead of the ORM slot | Use ORMMaterial3D, put _arm in the ORM slot, keep _diff as Albedo |
| Parallax effect isn't visible or looks mirrored | Heightmap Enabled is off, Heightmap Scale is near 0, or tangent direction is wrong | Enable Heightmap Enabled, raise Heightmap Scale, toggle Heightmap Flip Tangent/Binormal if needed |
| Normal map gets compressed like a color image on import | Detect 3D didn't set normal map detection automatically | Set the Normal Map import option to Enabled manually in the Import dock and reimport |
| Tiling doesn't match the model's size | UV1 Scale not matched to tile size and object size | Set UV1 Scale using edge length ÷ tile size |
Frequently asked questions
StandardMaterial3D or ORMMaterial3D for our textures?
ORMMaterial3D, if you're using our packed _arm file — it has a dedicated ORM texture slot for exactly that. StandardMaterial3D offers separate slots for albedo, metallic, roughness, and AO instead, useful if you'd rather work with the individual _diff, _rough, _ao files.
Do I need to modify our normal map for Godot?
No. Godot's documentation states it expects the OpenGL convention (X+, Y+, Z+), and our _nor_gl files already ship in exactly that format. Only DirectX-style normal maps from other sources would need the Normal Map Invert Y import option enabled first.
How do I set the tile size of our textures in Godot?
Through the material's UV1 Scale property. It scales the mesh's UV coordinates independently of the mesh's actual size, which determines how often the texture repeats across a surface.
Does Godot import our glTF models without a plugin?
Yes. glTF 2.0 is Godot's recommended 3D format per its documentation, and both .gltf and .glb are supported natively, no plugin required.